Before you swing the first hammer, stop.
Give the jobsite five minutes.
Not to reread the scope. Not to move another tool out of the truck.
Take five minutes to identify what could slow you down, create unnecessary cleanup, or damage something that was never supposed to be demolished.
Because demolition rarely becomes expensive simply because something is difficult to remove.
It becomes expensive because of everything happening around the demolition.
The wrong tool. The wrong access point. Hidden staples. An exposed finished floor. A growing pile of debris.
Five minutes of planning can uncover those problems before they become hours of lost labor.
Before grabbing a heavy-duty demolition tool, look at the material.
Hardwood flooring? Engineered flooring? Carpet? Cabinets? Walls? Ceiling material?
Then ask:
Is the tool you’re carrying actually designed for the job?
Flooring demolition, for example, requires more than simply prying something loose. You may need to get underneath boards, generate leverage, break material loose, and deal with nails or staples.
That’s where a dedicated flooring demolition bar can make sense.
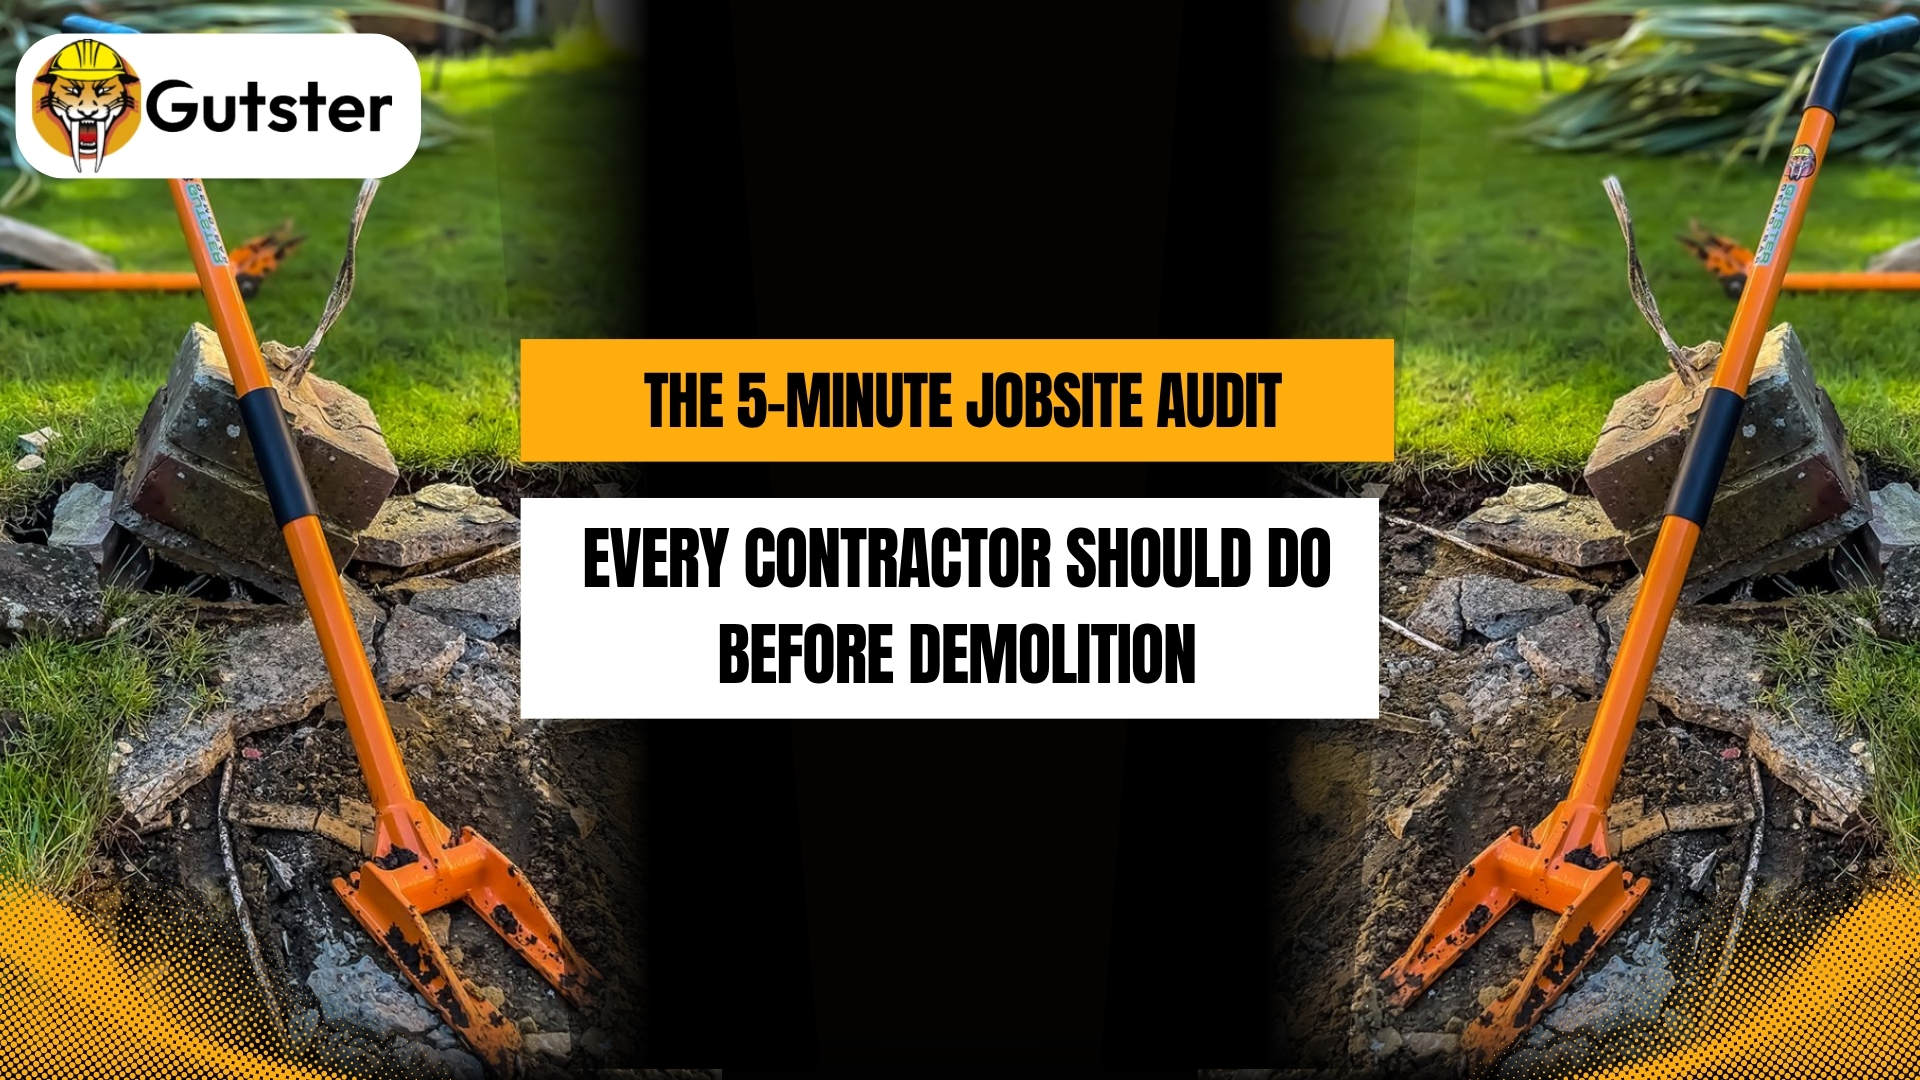
The Gutster 60 Flooring Demo Bar is designed for flooring removal, combining a 60-inch reinforced handle with pierce points, nail pullers, and wheels for repositioning around the jobsite.
The goal isn’t simply to use a bigger tool.
It’s to use a tool designed around the work.
Now look at the space.
Can you get underneath the material? Do you have room to generate leverage? Can you maneuver without constantly moving other equipment?
A long heavy-duty floor pry bar can be useful in an open area. But try operating one in a cramped bathroom or narrow renovation space.
Suddenly, maneuverability matters just as much as force.
A compact option such as the Gutster 30″ Tight Space Demo Bar is designed for demolition in areas where a larger bar can be difficult to operate.
So ask:
Do I need maximum leverage, or maximum maneuverability?
The answer depends on the jobsite.
The flooring is finally up.
Then you see them.
Staples. Hundreds of them.
One staple isn’t a problem. Hundreds can become a labor problem.
If your crew regularly spends significant time removing fasteners, a specialized staple-removal tool may deserve a place in the setup.
The better question isn’t:
“Do I need another tool?”
It’s:
“How much is the current method costing me in time?”
This may be the most important question.
What needs to stay?
Maybe you’re removing flooring but keeping the hallway. Maybe new flooring is installed while other trades are still working nearby.
Construction traffic brings boots, tools, dust, ladders, spills, and debris.
That’s why floor protection during construction should be planned before work begins.
But don’t simply ask:
“What can I cover this with?”
Ask:
“What does this surface need while it’s covered?”
BreatheTect Floor and Surface Protection Film is designed as a breathable protection solution with a waterproof top layer and anti-skid backing. It’s also reusable and residue-free.
For applications where moisture and vapor management matter, choosing the right breathable protection film can be just as important as choosing the right demolition tool.
And if carpet is exposed to active construction?
A heavy-duty carpet protection film can help create a barrier against dirt, paint, tools, and foot traffic.
Gutster’s CarpetTect is a self-adhesive 4-mil carpet protection film designed for construction environments.
Now look at what happens after the material comes down.
Where will it go?
Flooring, trim, fasteners, and broken material can turn a clean workspace into a debris field quickly.
If debris is repeatedly moved, stacked, and moved again, you’re paying for unnecessary labor.
That’s where contractor garbage bags, contractor trash bags, and other cleanup supplies become part of the workflow.
Ask:
“Where does the material go the moment it comes down?”
Have an answer before demolition begins.
Before starting, ask five questions:
Five minutes.
That’s all it takes to spot many of the problems that can turn a straightforward demolition job into a slow one.
The best demolition setup isn’t necessarily the one with the most equipment.
It’s the one where every tool solves a real problem.
A flooring demo bar for flooring removal.
A heavy-duty pry bar when leverage is needed.
A staple remover for repetitive fasteners.
BreatheTect for breathable surface protection.
CarpetTect for carpet protection.
Heavy-duty contractor bags for debris.
Before the first pry, pull, or swing, ask one final question:
“What’s most likely to slow us down today, and do we already have the right solution?”
That question could be worth far more than five minutes.
Explore Gutster’s professional demolition tools, flooring removal tools, surface protection products, and contractor jobsite essentials, and build your setup around the work you’re actually doing.
